
.svg)

5 tips for successfully installing duct smoke detectors
2022-01-26
Today’s duct smoke detectors are based on advanced technology that can save lives, but only if installed correctly. A mistake during installation can lead to severe consequences, and this can happen to even the most experienced professional. To help you out, here are 5 tips for successfully installing duct smoke detectors.

1. Place the duct smoke detector away from sources of interference
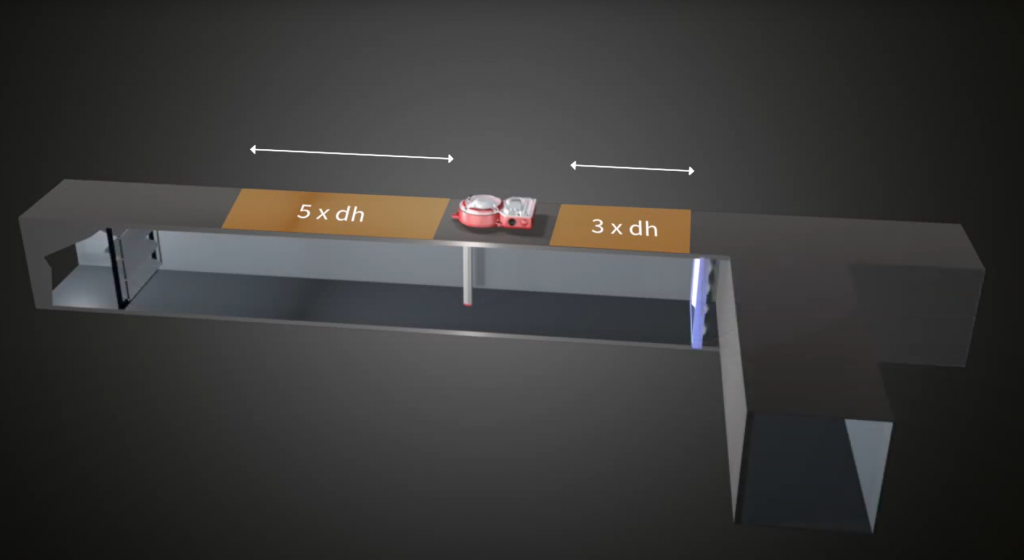
When installing a smoke detector in a ventilation duct, make sure to avoid sources of interference. If the duct smoke detector is installed too close to a source of interference, there is a risk of air pockets forming and causing flow interference. This can have a negative impact on air sampling and result in failed or delayed smoke detection.
Always choose an appropriate distance from all dampers, bends, and other dimensional changes in the duct system. Preferably, there should be a distance of three times the duct diameter before the source of interference and five times the duct diameter after the source of interference.
That being said, it can sometimes be difficult to find these longer distances without sources of interference in ventilation ducts. Perhaps the design has not allowed for sufficient clearance in the drawing. If this is the case and you have no choice but to place the duct smoke detector closer to a source of interference, it is especially important to carry out a full-scale smoke test, by introducing artificial smoke into the ventilation system. This is the only way of knowing the duct smoke detector is doing its job and is always recommended, regardless of where it is placed.
2. Place the duct smoke detector visible and accessible for service
When installing a duct smoke detector, make sure to place it so that operating and maintenance personnel can easily find it. The white detector-head has one red circular light that indicates a fire alarm and one green circular light that indicates a service alarm. Depending on the model, there might also be additional indication lamps. If the detector needs to be placed hidden like in a shaft or above a false ceiling, inspection hatches need to be installed and “hidden duct smoke detector” signs posted.
Also, avoid installing the detector where condensation problems may arise. Sometimes, this is impossible, for example, if the detector needs to be installed outdoors or in an unheated attic. In these cases, the detectors must be insulated as well as marked as mentioned above.
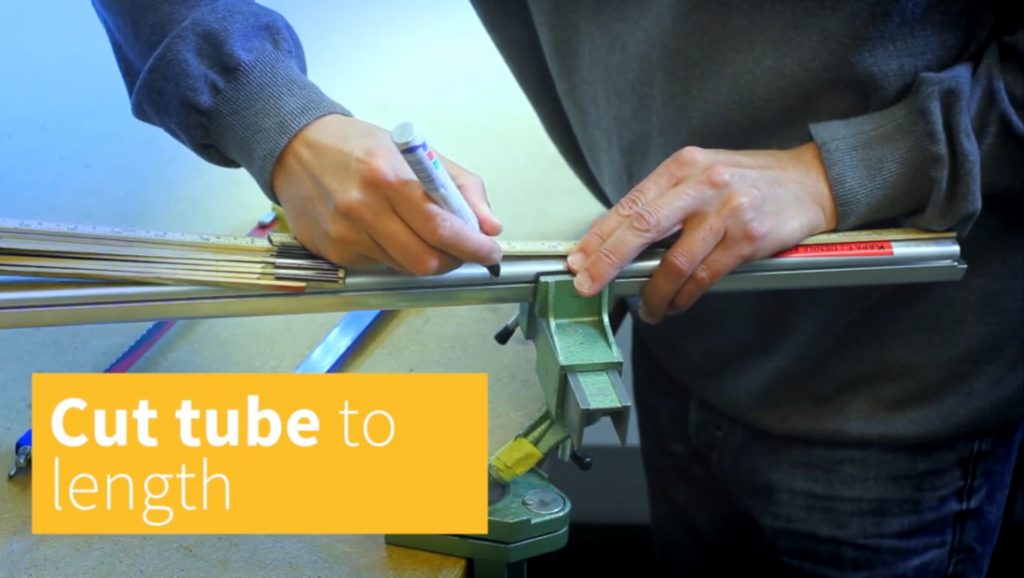
3. Adapt the length of the venturi tube to the size of the duct
My next tip for you is to pay some extra attention to the length of the venturi tube. The size of ventilation ducts can vary greatly. However, regardless of size, the venturi tube should
collect air from the entire ventilation duct.
Therefore, always measure the diameter/width of the ventilation duct, and make sure that the pipe penetrates at least 90 percent of the width of the duct. There is a greater chance of detecting smoke and preventing fire at an early stage with high-quality air samples. If mounting brackets are used with circular ducts or external insulation, the length of the venturi pipe inside the duct should still reach at least 90 percent.
4. Make sure to connect the duct smoke detector correctly
Voltage and the principle of connecting the duct smoke detector electrically sometimes differ depending on the model and market. Always check the manual included in the delivery of the duct smoke detector as well as the electrical drawings for your project to find out how to connect the duct smoke detector correctly.

In general terms, there are basically two types of smoke detector: those with an external control unit and those with a built-in control unit.
With an external control unit and a closed-loop circuit with one or multiple sensors in the circuit, remember to end the circuit in the final detector with the terminating resistor. In theory, it is possible to connect a large number of sensors in one circuit. But for practical reasons, it is advised to keep the loop to less than ten detectors. The advantage of a central control unit is the reduced length of cabling and the feature of having the status indication of the total circuit in one central place.
Standalone duct smoke detectors with built-in control units have potential-free relay contacts for alarm signaling and in parallel need a supply power according to model. Depending on requirements, different options are possible for wiring these units.
5. Check the functionality of the duct smoke detector
Once you have completed the installation, it is time to check the functionality. First of all, check that the duct smoke detector is properly installed in relation to the direction of airflow. Inspect the adapter cover as well as cables to verify that they are well sealed.
Apply smoke to the detector through the test hole by using a smoke spray, and observe the reaction of the detector. The detector should send an alarm and automatic countermeasures should be initiated to limit the spread of smoke. Last but not least, make sure to put the test hole plug back.
View the full installation video showing how to install a Uniguard duct smoke detector:
That is it for this blog post. I hope you found my tips somewhat helpful. If you need help during installation, feel free to contact Calectro. We are happy to assist you.

Technical support
Most read posts
- 5 tips for successfully installing duct smoke detectors
- Leading the way in fire safety and building automation (Part 1)
- Four common questions about duct smoke detector sensitivity
- Prevent smoke from spreading in facilities by using smoke detectors in ventilation ducts
- What are the best key indicators for measuring customer satisfaction and improving product quality? (Part 3)
- How important is good ventilation? Very.
- 50 years of getting to know the HVAC industry (Part 2)
- High-quality air samples for detecting smoke in ventilation